Blue ombre nail designs are a popular trend in nail art. It features a gradient effect transitioning from one shade of blue to another. Here are some ideas for blue ombre nail designs:
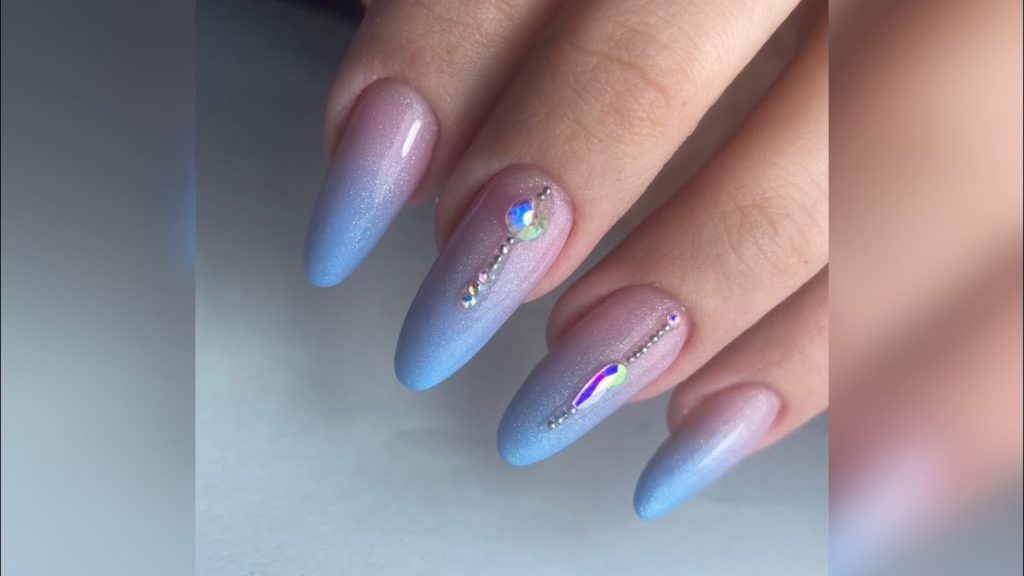
- Light to dark blue ombre: Start with a light blue shade on the tips of your nails, then gradually blend it into a darker blue shade towards the cuticles.
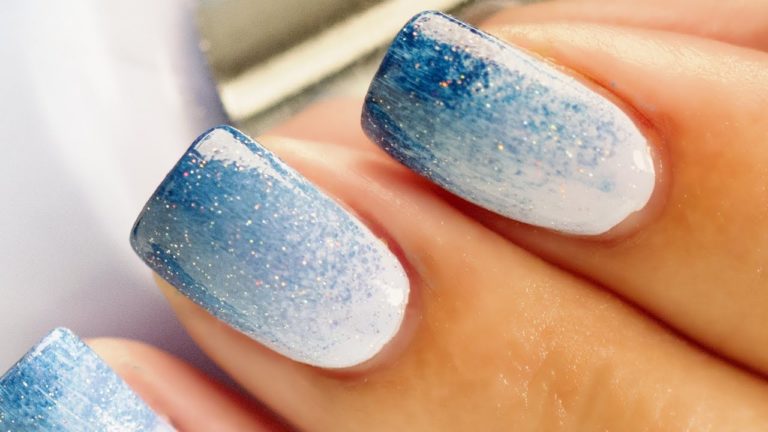
- Glitter blue ombre: Add some sparkle to your blue ombre design by incorporating glitter into the mix. Start with a light blue shade and then add glitter to the tips, blending it into a darker blue shade.
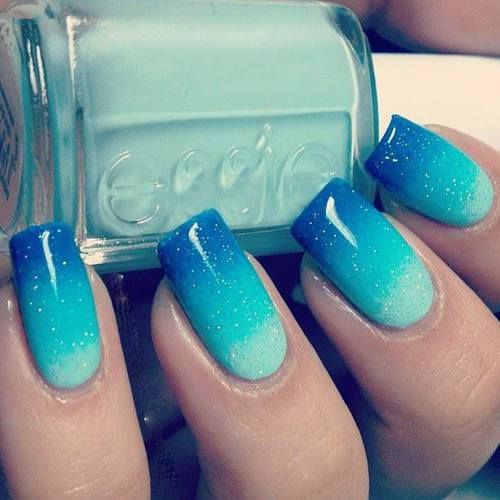
- Teal to navy blue ombre: Create a stunning look with a gradient effect from teal to navy blue. You can use a makeup sponge to blend the two colors together to create a seamless transition.
- Blue and silver ombre: Combine blue and silver for a chic and stylish ombre look. Apply a blue shade to the base of your nails and gradually blend in silver glitter towards the tips.
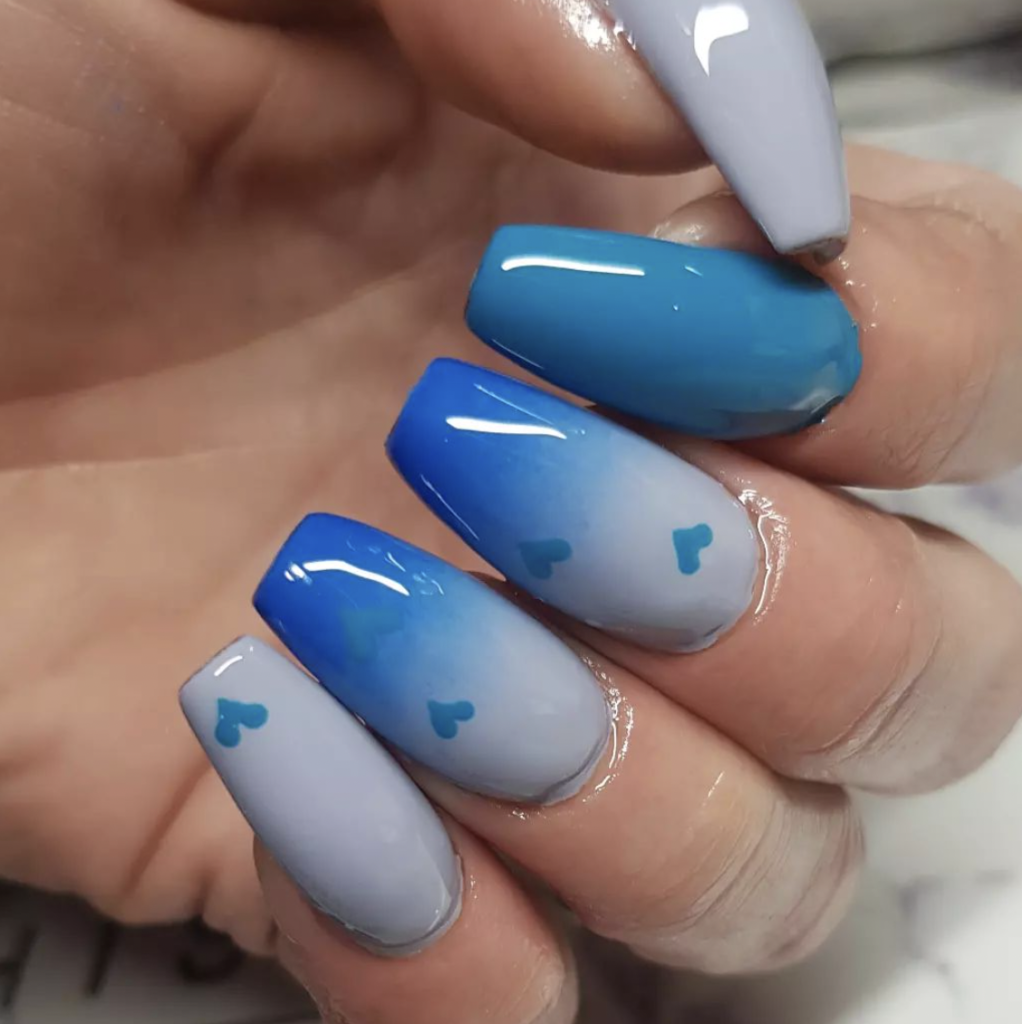
- Gradient of different shades of blue: For a bold and unique look. Try using different shades of blue to create an ombre effect. Choose shades that complement each other and use a makeup sponge to blend them together.
Remember, the key to creating a perfect ombre effect is blending the colors together seamlessly. Have fun experimenting with different shades of blue to find the perfect combination for you!
Important Tips for Blue Ombre Nail Designs
When doing blue ombre nail designs, there are a few important points to keep in mind:
- Choose the right colors: When selecting the shades of blue for your ombre design, it’s important to choose colors that complement each other. You can experiment with different shades of blue to find the perfect combination.
- Prepare your nails: Make sure your nails are clean, dry and free of any oils or lotions before starting your ombre design. You can also apply a base coat to protect your nails and help the polish adhere better.
- Use a makeup sponge: A makeup sponge is a great tool for creating the gradient effect in an ombre design. Simply load the sponge with the two colors you want to use and dab it onto your nails to create the ombre effect.
- Be patient: Ombre designs can be time-consuming, so it’s important to be patient and take your time. Make sure each layer is completely dry before applying the next, to avoid smudging or ruining your design.
- Seal your design: After you’ve created your ombre design. Be sure to seal it with a topcoat to protect it and give it a glossy finish.
- Clean up: Clean up any polish that may have gotten on your skin or cuticles with a small brush or q-tip dipped in acetone or nail polish remover.
By following these important points, you can create beautiful blue ombre nail designs that last. Have fun experimenting with different shades and techniques!
FAQ’s
What colors are used for blue ombre nails?
The colors used for blue ombre nails vary, but typically two or more shades of blue are used to create the gradient effect. Some popular combinations include light blue and navy blue, teal and navy blue, or a gradient of different shades of blue.
What tools do I need for blue ombre nails?
The tools you will need for blue ombre nails include nail polish in the colors you want to use, a makeup sponge, a base coat, a topcoat, and a clean-up brush or q-tip.
Can I create a blue ombre design without a makeup sponge?
Yes, a makeup sponge is a common tool used for creating an ombre effect, but you can also use a brush or even your finger to blend the colors together. The key is to blend the colors together smoothly to create the gradient effect.
How long does blue ombre nail polish last?
The longevity of blue ombre nail polish depends on several factors, such as the quality of the polish, the preparation of the nails, and how often you use your hands. With proper care, blue ombre nail polish can last for up to a week.
Can I create blue ombre nails at home?
Yes, blue ombre nails can easily be created at home with the right tools and a little bit of practice. With the step-by-step instructions provided, you can create a beautiful blue ombre design in the comfort of your own home.
What are some tips for making blue ombre nails last longer?
To make your blue ombre nails last longer, be sure to apply a base coat and topcoat, avoid using your hands for activities that may damage your nails, and keep your nails moisturized. You can also touch up any chips or peeling with a small brush and a fresh layer of topcoat.
Ombre Nail Designs
Benefits of having Blue Ombre Nail Designs
Here are some of the pros of blue ombre nail designs:
- Versatile: Blue ombre nail designs can be created in a variety of combinations. It varies from light blue to navy blue, teal to navy blue, or a gradient of different shades of blue. This versatility makes it a popular choice for many people.
- Easy to create: With the right tools and a little bit of practice, blue ombre nails can easily be created at home. This can save you time and money compared to visiting a nail salon.
- Affordable: Creating blue ombre nails at home can be more affordable than visiting a nail salo. Especially if you already have the necessary tools and nail polish.
- Long-lasting: With proper care, blue ombre nails can last for up to a week, making them a great option for those who want their nail art to last longer.
- Adds style to your look: Blue ombre nail designs can add a touch of style and creativity to your look. Making them a great way to express yourself and make a fashion statement.
- Easy to maintain: Blue ombre nails are easy to maintain. As you can touch up any chips or peeling with a small brush and a fresh layer of topcoat.
By considering these point. You can see that blue ombre nail designs are a great option for those looking to add some style and creativity to their look.
Drawbacks of Blue Ombre Nail Designs
Here are some of the cons of blue ombre nail designs:
- Time-consuming: Blue ombre nail designs can be time-consuming, especially if you are new to creating them. It’s important to be patient and take your time to ensure a clean and even gradient.
- Can be messy: Applying blue ombre nail polish can be messy, and it’s important to have the necessary tools, such as a clean-up brush or q-tip, to remove any excess polish from your skin or cuticles.
- Requires attention to detail: Blue ombre nail designs require attention to detail and a steady hand, so it may not be the best choice for those who are not confident in their nail art skills.
- Can be expensive: If you do not have the necessary tools and nail polish to create blue ombre nails at home, it can be expensive to purchase everything you need.
- Can be damaging to your nails: Using nail polish frequently, including blue ombre designs, can cause damage to your nails over time. It’s important to take breaks from using nail polish and keep your nails moisturized to prevent damage.
By considering these points, you can make an informed decision. Whether blue ombre nail designs are the right choice for you and your lifestyle.
Conclusion
In conclusion, blue ombre nail designs are a great way to add style and creativity to your look. They are versatile, easy to create, and affordable, especially if you do them at home. However, blue ombre nails can be time-consuming, messy, and require attention to detail, which may not be ideal for everyone. Additionally, frequent use of nail polish, including blue ombre designs, can be damaging to your nails over time. It’s important to weigh the pros and cons and make an informed decision about whether blue ombre nail designs are the right choice for you.