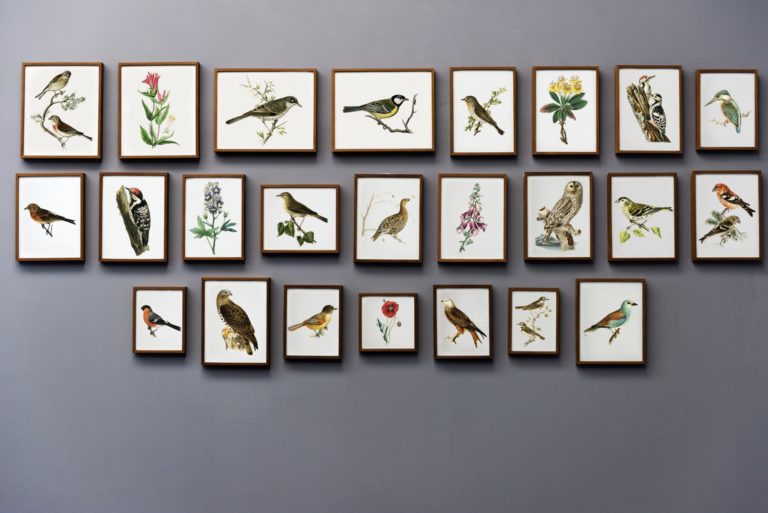
Did you know that the wall art market is projected to reach over $70 billion by 2028? Wall art is becoming increasingly popular. And metal wall art is no exception. Metal wall art is a fun, innovative way to express yourself, share memories, or add some flair to your space.
Whether you want to spruce up your office, your apartment, or your home, it is a versatile choice. Today we’ll teach you how to hang metal wall art on drywall.
You’ve probably just bought yourself an awesome art piece. But how do you hang your art? Keep reading to learn how to hang art with our step-by-step guide.
Choose a Durable Hanger
If your metal decor for your home doesn’t come with a hanger, you’ll have to buy one yourself. But before you buy a hanger, it’s a good idea to weigh your art piece. You’ll want to make sure you choose a hanger that can support your art.
Metal art is typically heavier than other materials, so choose a hanger that can support at least double what your metal wall art weighs. If you need more than one hanger for your piece, go for it!
Locate a Wall Stud for Hanging
Studs are a great place to hang metal art. Since metal is a heavier material, a stud will prevent your art from damaging your drywall. If you’re not sure what a stud is, they are metal or wooden beams that support your house.
Studs run vertically through your walls; you can find them every 12 to 24 inches. The easiest way to locate a stud is to buy a tool called a stud finder. You can buy them for as little as ten dollars. If you don’t have the time to buy a stud finder, you can also download a stud finder app on your phone.
Calculate Where to Hang Your Art
Once you found a stud and where you want to place your art piece, mark it on the wall. Make sure you’re happy with the height you marked because it will change slightly.
Locate the hook on your art piece and measure the distance from the bottom of the hook to the top of the art. Write this number down. Now, go back to the mark you made on the wall. Measure down using your hook measurement and mark that spot. This is where your art will hang.
Secure the Screws and Finish Up
Now it’s time to get your drill. Using a screw, drill a hole where you marked on the wall. Make sure the screw is long enough to go through the stud and support the hanger.
If necessary, drill a pilot hole first. A pilot hole makes drilling the screw more precise and much easier. Skipping the pilot hole is up to you and also depends on your situation.
After you’ve finished drilling the screw, carefully hang your piece on the screw. To finish, you can use a level to ensure your art is level and looks great on your wall.
Now You Know How to Hang Metal Wall Art
Now you’ve learned exactly how to hang metal wall art! Use these steps for all of your future projects. We hope our guide made hanging metal wall art as easy as cake. Just make sure to have all the proper materials like a drill, hanger, pencil, level, tape measure, and screws.
For more helpful content like this, visit our home improvement section today.
