If you want to know how to cut a video like a pro, research and consistent practice are your best bet. It’s a lot like learning a new instrument, or picking up a new skill: with time and patience, you’ll always improve.
But what’s the point of practicing if you don’t know where to start? Contrary to what you might think, knowing how to properly cut a video is the backbone of professional editing. You can have amazing color grading or the fanciest presets, but your audience will always feel like something’s missing if your cuts are a bit rough around the edges.
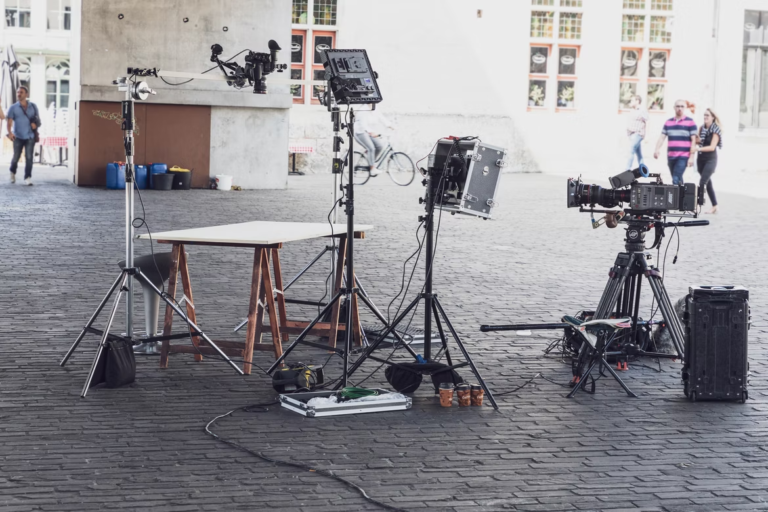
We always value quality video and effective storytelling at The Outside Collective. With our expert help, you can learn any type of video editing cut and how to use them effectively. Every editor has their own style, but familiarizing yourself with these basic cuts should take your work to the next level.
Video Editing Cuts Every Editor Should Know
- Standard Cut
The standard cut will be the first thing you learn when trying to figure out how to cut a video. You’ll encounter these in all kinds of video editing. In a basic cut like this, you just end the scene and move on to another scene.
The standard cut can be as simple or as complex as you want, depending on your preferences. Ending the scene at the wrong moment can ruin the viewer’s immersion and turn them off from the video entirely. So be careful when switching sequences!
As much as possible, the standard cut should be invisible in the sense that the audience can barely notice it. Try to be seamless and unforced without taking away from the experience. The most important part of learning how to cut a video is to keep it simple. It’s always best to have a lighter hand, especially in movies and film.
- Cutting on Action
This video editing cut is a little more complicated and requires perfect timing. It works by splicing together clips of your subject performing the same action but from different angles. The second clip should start at exactly the same moment as the end of the first.
Cutting on action can be a bit tricky to master. If you can get it right, it’s one of the cleanest-looking cuts out there that’s sure to impress.
- Jump Cut
Also called smash cuts, jump cuts skip ahead in the same sequence to show the main subjects in varying positions throughout the frame. You can usually see this cut in vlogs or documentaries as a visual effect to show progress, rather than in film. This is definitely useful if you have a long, boring clip that you can’t seem to shorten no matter how much you try.
To perform a jump cut, simply splice away some select clips in your sequence to speed up the movement or action in the video by skipping or “jumping” to the next. It works best if you have a steady shot with only the subjects moving around. It’s a more interesting video editing cut compared to the standard old timelapse, so it’s sure to keep your audience interested.
- J Cut
The next 2 cuts are named after the shape they make in your sequence once successfully performed. They incorporate audio in the transition between the two clips, instead of just cutting directly to the next. It can be jarring or awkward to transition between some scenes that have different sound environments, so these kinds of video editing techniques can help fix that.
The first video editing cut forms the shape of a J – as indicated in its name. The J cut shifts the audio from the second clip into a section of the first and allows the sound to fade in until it reaches maximum volume at the start of the second clip. This acts as more of a lead-in to the next scene than a sudden jump from one location to another.
- L Cut
The L cut follows the same principles but has the opposite shape and effect. Instead of dragging the audio back, the L cut extends the audio of the first clip to play into the second.
The way this video editing cut works is that it transfers some context from the previous scene into the next. If the J cut mostly serves to act as a smoother transition, the L cut ties them together in a way that evokes nostalgia, foreshadowing, or both. The music, conversation, or ambiance carries over into the next clip to provide a deeper sense of connection for the viewer.
If you want to use either of these two cuts, it’s good to understand the context of your current scene so you can choose the more appropriate option. There are different kinds of video editing that can tackle the way you want to approach your content. Play with your transitions, effects, and camera angles to get the perfect shot!
- Cutaway
These are also called B-rolls, or scenery shots. The purpose of cutaways is mostly to keep the footage interesting and to bring more immersion into the world.
But here’s a little industry secret: sometimes cutaways can be used to mask any mistakes made during filming. If you don’t have enough time to reshoot a certain scene, just take some extra B-roll footage for backup and splice them in to hide unfixable errors!
- Match Cut
Match cuts can be executed with either visual or auditory elements. The general idea is to “match” or line up the subjects in both clips that have a similar feel. For example, this match cut in 2001: A Space Odyssey (1968) infamously uses the shot of a bone being thrown up in the air to transition into a spaceship in motion. Similarly, a loud noise like a gunshot can be used together with a slamming door or the sound of breaking glass.
- Montage
A montage is a series of cuts that can be used to show the progress of time, much like a jump cut. However, instead of keeping it all in a single frame, montages can be a lot more flexible. The sequence can be set to background music or strategic audio placements.
- Cross Cut
Cross-cutting or parallel editing is a complicated technique that can be used to show several different narratives at the same time. The most notable example of this video editing cut can be seen in Inception (2010), where the film frequently switches between perspectives to tell one cohesive story. This is basically just a series of standard cuts (or any other type of video editing cut) from multiple sequences that follow a parallel storyline.
When you’re first learning how to cut a video, cross-cutting can be an intimidating technique. It’s extra hard when you have a ton of footage to work with because you might not know where to start. But it’s one of the best ways to show a lot of action, especially in fast-paced scenes where a lot is happening all at once.
If you find it hard to pull off cross cuts, try establishing an outline for your script first so you have a solid reference. Each clip should make sense and play off of one another until the climax of your video, resulting in a satisfactory and well-rounded ending that ties it all together.
Now that you know how the different kinds of video editing can have an impact on your overall story, it’s time to make it work. When establishing your own style as a professional editor, always keep in mind that you have to be clean and consistent.
Figuring out how to cut a video is always a subjective process, but trust yourself and your instincts! Be comfortable in your working environment and skills. There will always be room to improve, so treat each project as a learning experience.
Our content at The Outside Collective always aims to deliver the best possible experience in our films. Whether you need extra support on your journey or a dedicated production team, we’d love to help you bring your creative visions to life.